Photoshop - Making Abstract
Lightning Surge
1. Create a new image with a Transparent background and a resolution of 72. Rename this layer "BG". Size doesn't particularly matter, however big you want the image to be is fine, but I suggest it to be 300x300 or bigger.
2. Press CTRL+D to reset the colors. Fill the layer "BG" with black.
3. Create a new (blank) layer above the layer "BG". Name it "GRADIENT".
4. It's gradient time! Select the gradient tool. Now Change your foreground color (black) to Red: FF0000. Now go into the gradient Proporties and select "Foreground To Transparent".
5. Now make two small gradient lines. They should look like this:
6. Now select your Foreground Color (it should be red). Now go to "H" (Hue), and type in: 30. Your color should look orange.
7. Repeat Step 5 with this new color.
8. Select your Foreground Color again, and type in 60 for the hue. Your color should look yellow. Now repeat step 5.
9. Now go to hue and type in 120. Repeat step 5.
10. Next go to hue and type in 180. Repeat step 5.
11. Next go to hue and type in 240. Repeat step 5.
12. Now go to hue and type in 300. Repeat step 5. Your image should look something like this:
13. You can stop here, merge your layers and add graphics and text or whatnot, but I suggest you read on, you might get a better result. 14. Merge your layers (Shift + CTRL + E). Now duplicate the layer. Name this layer "WAVE". 15. Next, go to Filter > Distort > Wave. Now click the Randomize button until you get a desired result.
(click the image to make it bigger)
16. Go to Blending Options. You can use whatever looks best for your image, but I suggest using Pin Light.
17. Merge your layers (Shift + CTRL + E). Now Duplicate the layer. Name this layer "TWIRL". Go to Filter > Distort > Twirl with the following proporties: Angle=256.
18. Now Go to Blending options, and use whatever looks best for your image. I suggest Lighten.
19. Now Merge your layers (Shift + CTRL + E). Now Duplicate the layer. Name this layer "BLUR". Go to Filter > Blur > Gaussian Blur with the following proporties: Radius=2.5-4 (whatever looks best for your image).
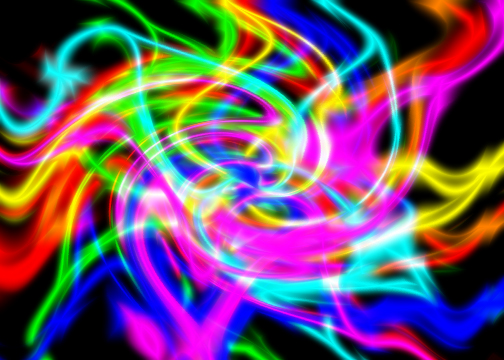
(click the image to make it bigger)
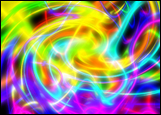
20. You're done! You can add graphics and text and make your image look very nice. Your final product should look something like this:
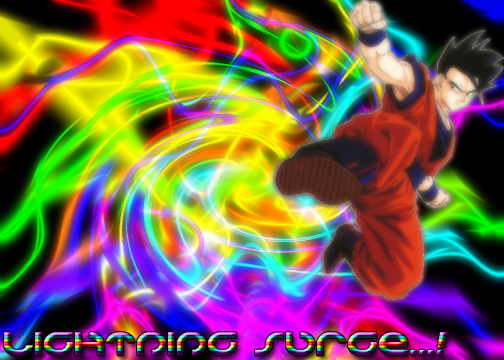
(click the image to make it bigger)
Credits: pimpmycom
